

 Chrome Proxy Extension
 Firefox Proxy Extension



Browser
How To Configure a Proxy in FlashID
Create a profile, add host, port, username, and password, test the connection, and start. FlashID built-in proxies are included as the other option.
Setting up FlashID only takes a few minutes. Follow these three steps to start creating your isolated environments.
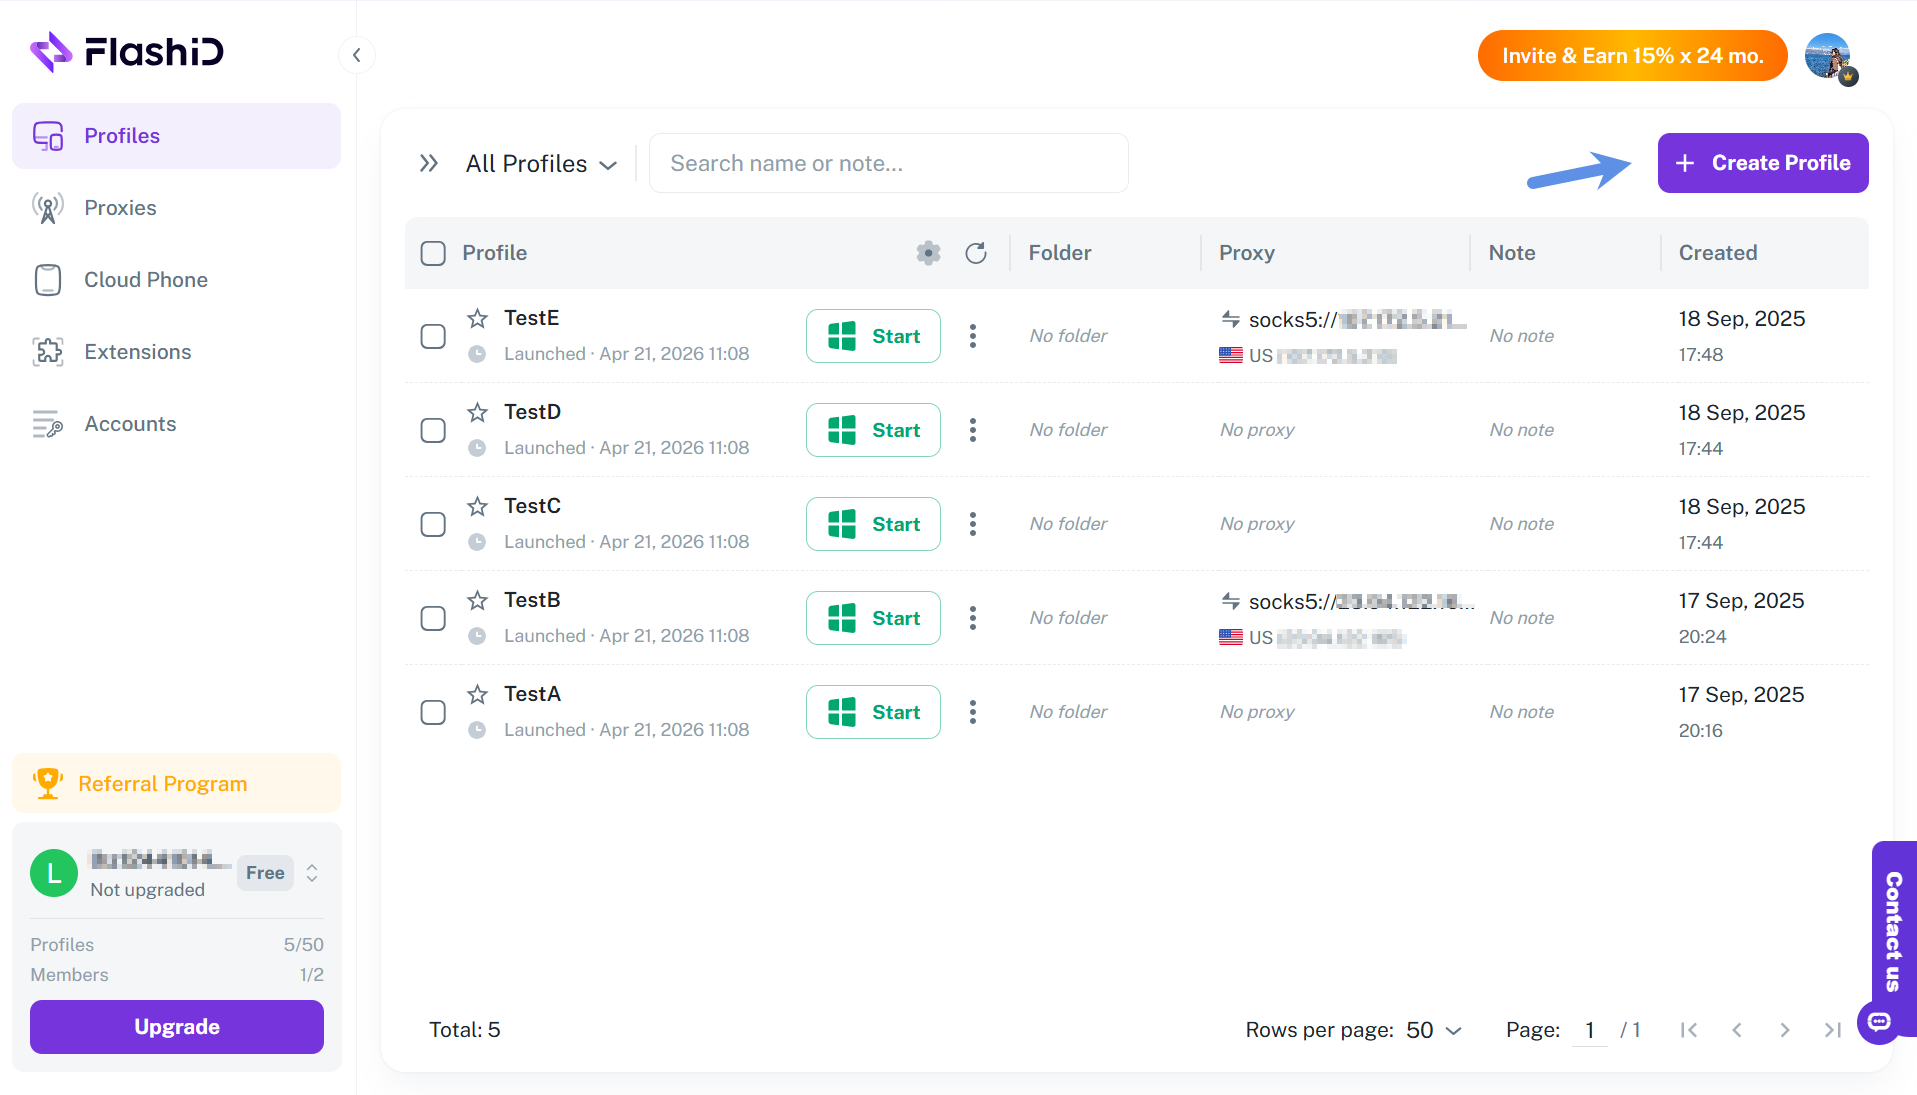
Step 1: Create a Profile
In your dashboard, click “Create Profile.” Enter a name and configure fingerprint parameters. Each profile generates a unique browser fingerprint and serves as the foundation of an independent environment.
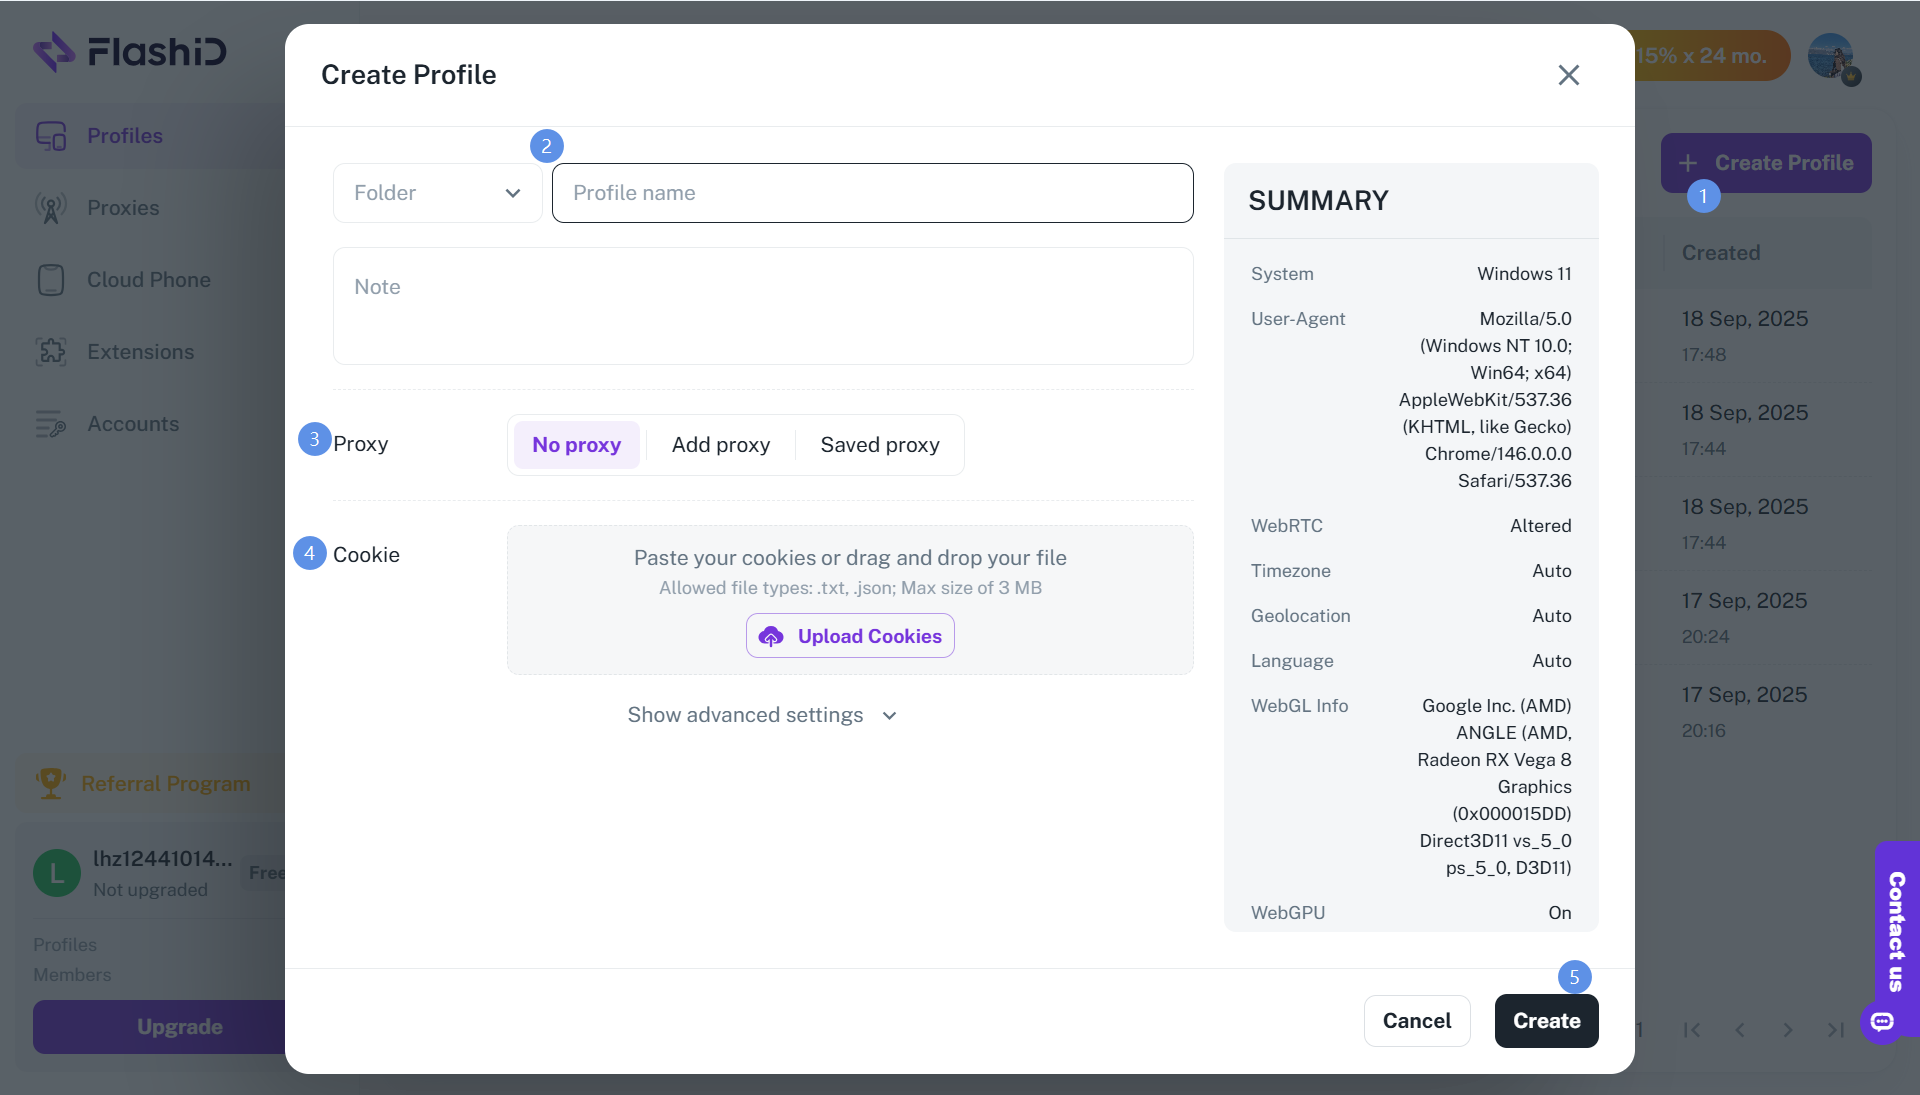
The create dialog asks for a folder, profile name, and note. Proxy choices are No proxy, Add proxy, and Saved proxy. You can paste cookies or upload a cookie file (txt or json, up to 3 MB). Advanced settings and the summary show system, user agent, WebRTC, timezone, geolocation, language, WebGL, and WebGPU. Click Create when the profile is ready.
Step 2: Add a Proxy
Go to the Proxy Settings panel, click “Add Proxy,” and input your proxy’s host, port, username, and password. Click “Test” to verify the connection and then save it.
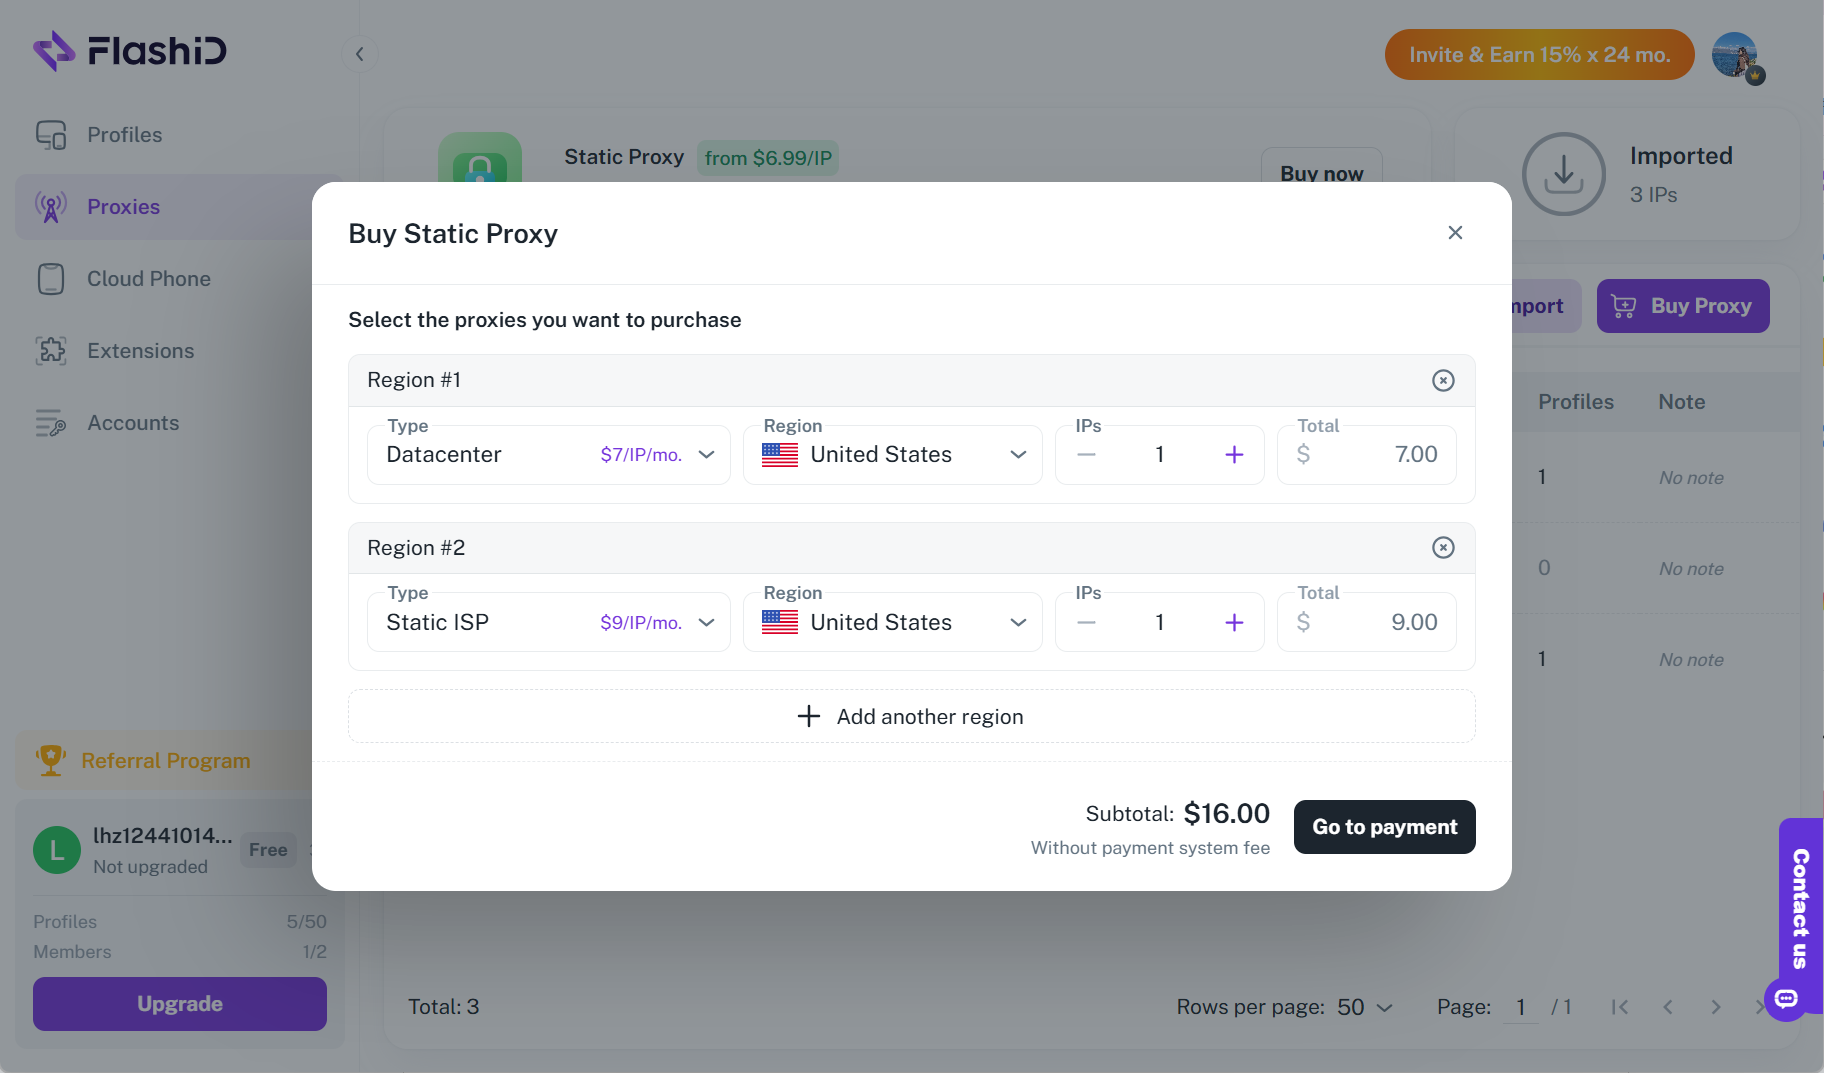
Built-in proxies
You can also directly use FlashID built-in proxies for instant setup — no manual configuration required. This ensures optimal matching between IP and browser environment, reducing setup errors and improving account stability.
Step 3: Launch and Start Working
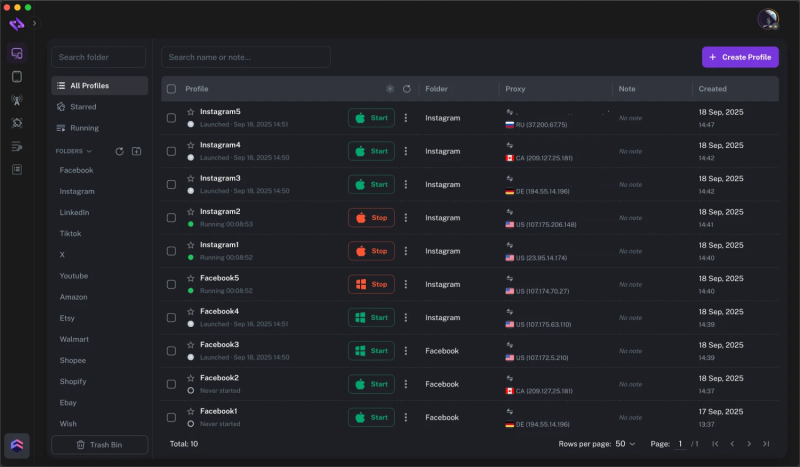
Click “Start” to start your profiles. A new browser or cloud phone window will appear with its own fingerprint, IP address, and cache space.
You can now safely log in to your accounts without worrying about association or detection.
Other integrations
Looking at another tool?

Get Started
Connect with WeProxy now
Create an account, use 1 GB of free residential traffic right away, and follow the steps above in your own setup.